¶ 2.2 Quick Start
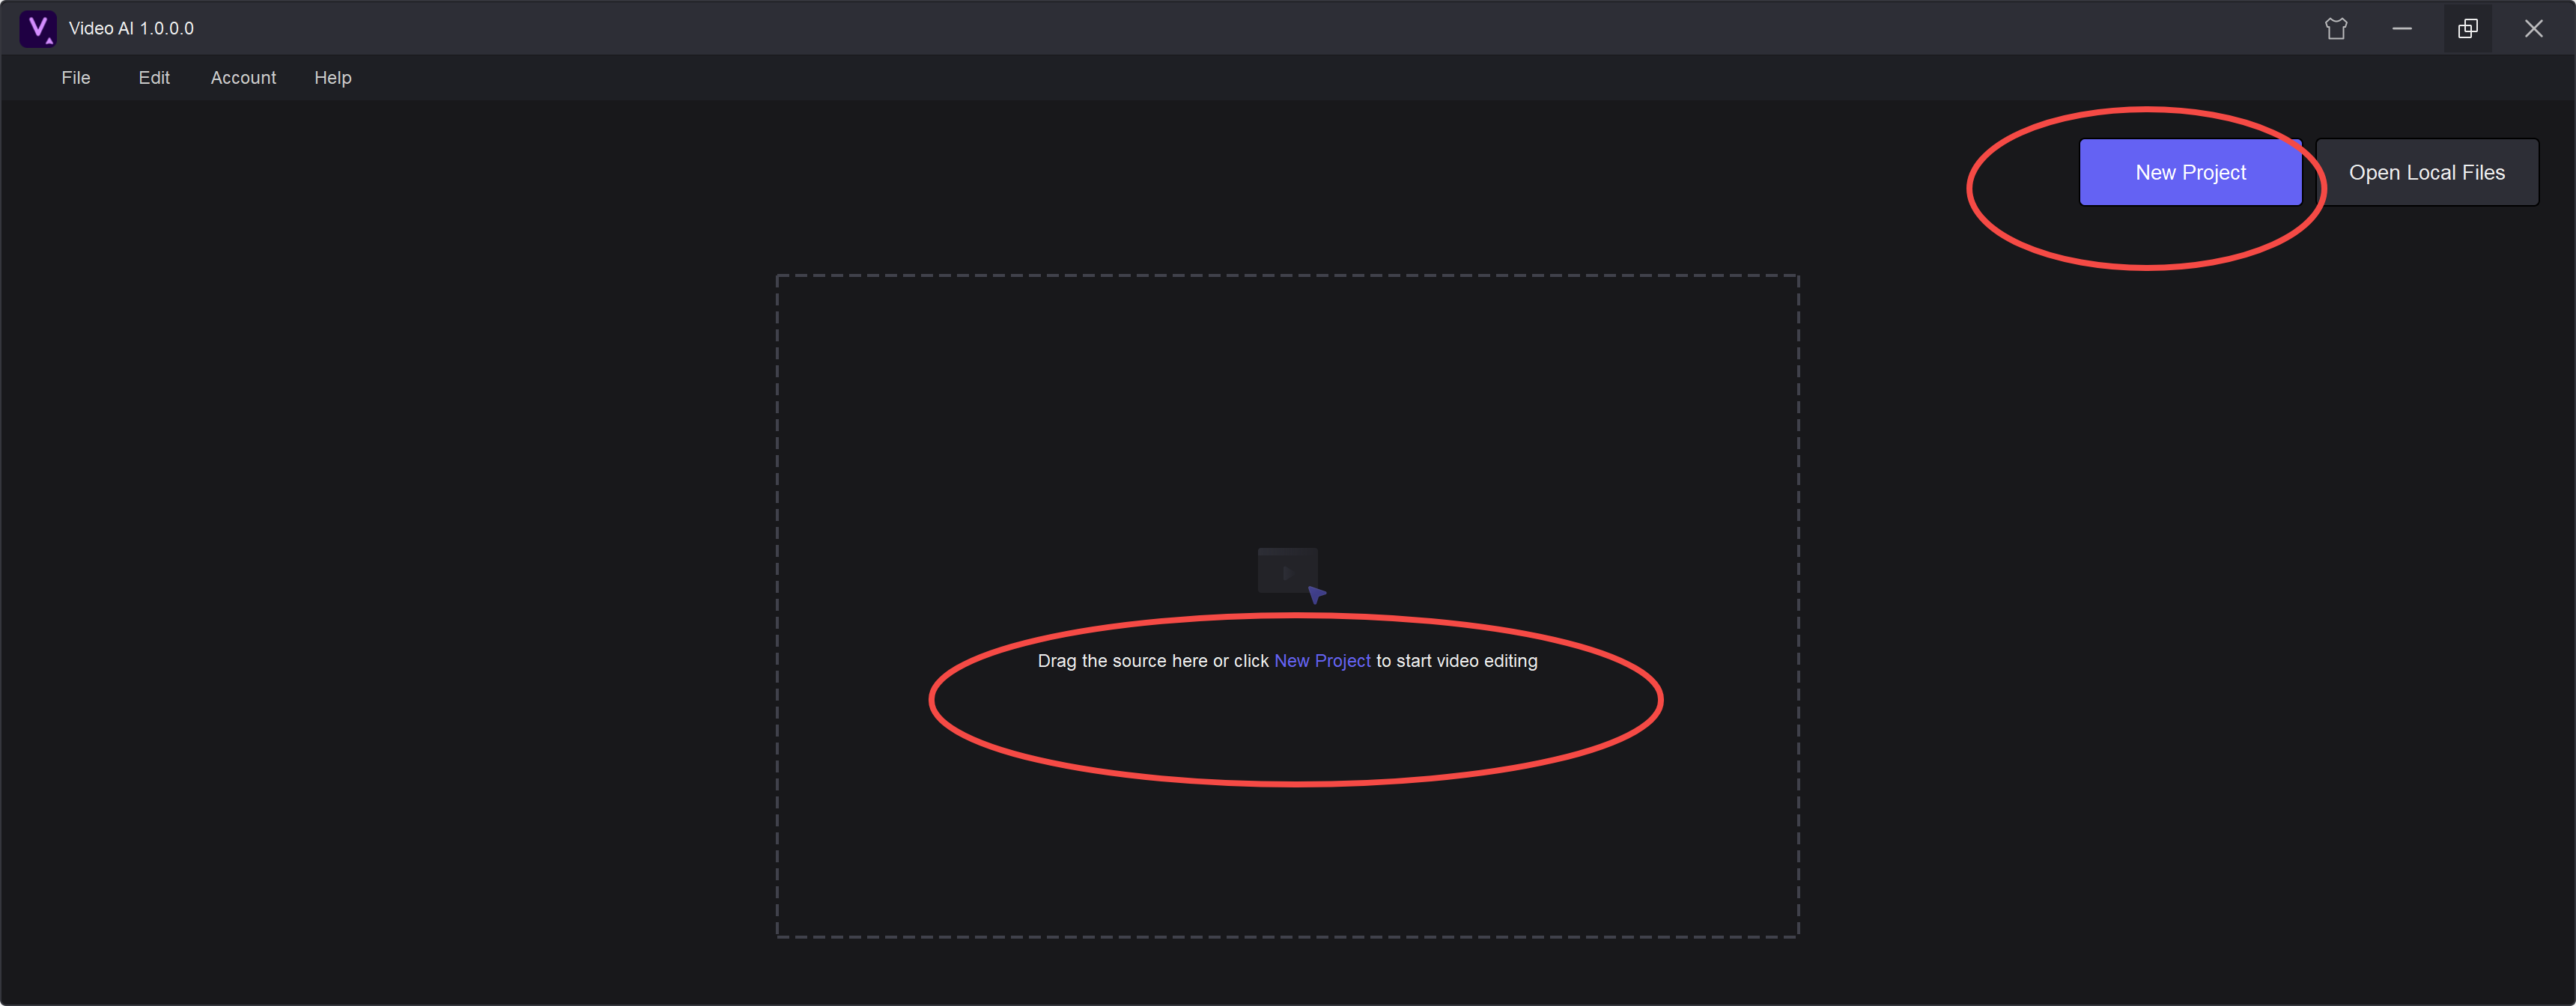
¶ 2.2.1 Create a New Project
You can create a new project by clicking the button in the upper right corner or by dragging and dropping the video into the selection box.
You can edit your video in the newly created project
¶ 2.2.2 Client Interface Overview
Here is Video AI interface.
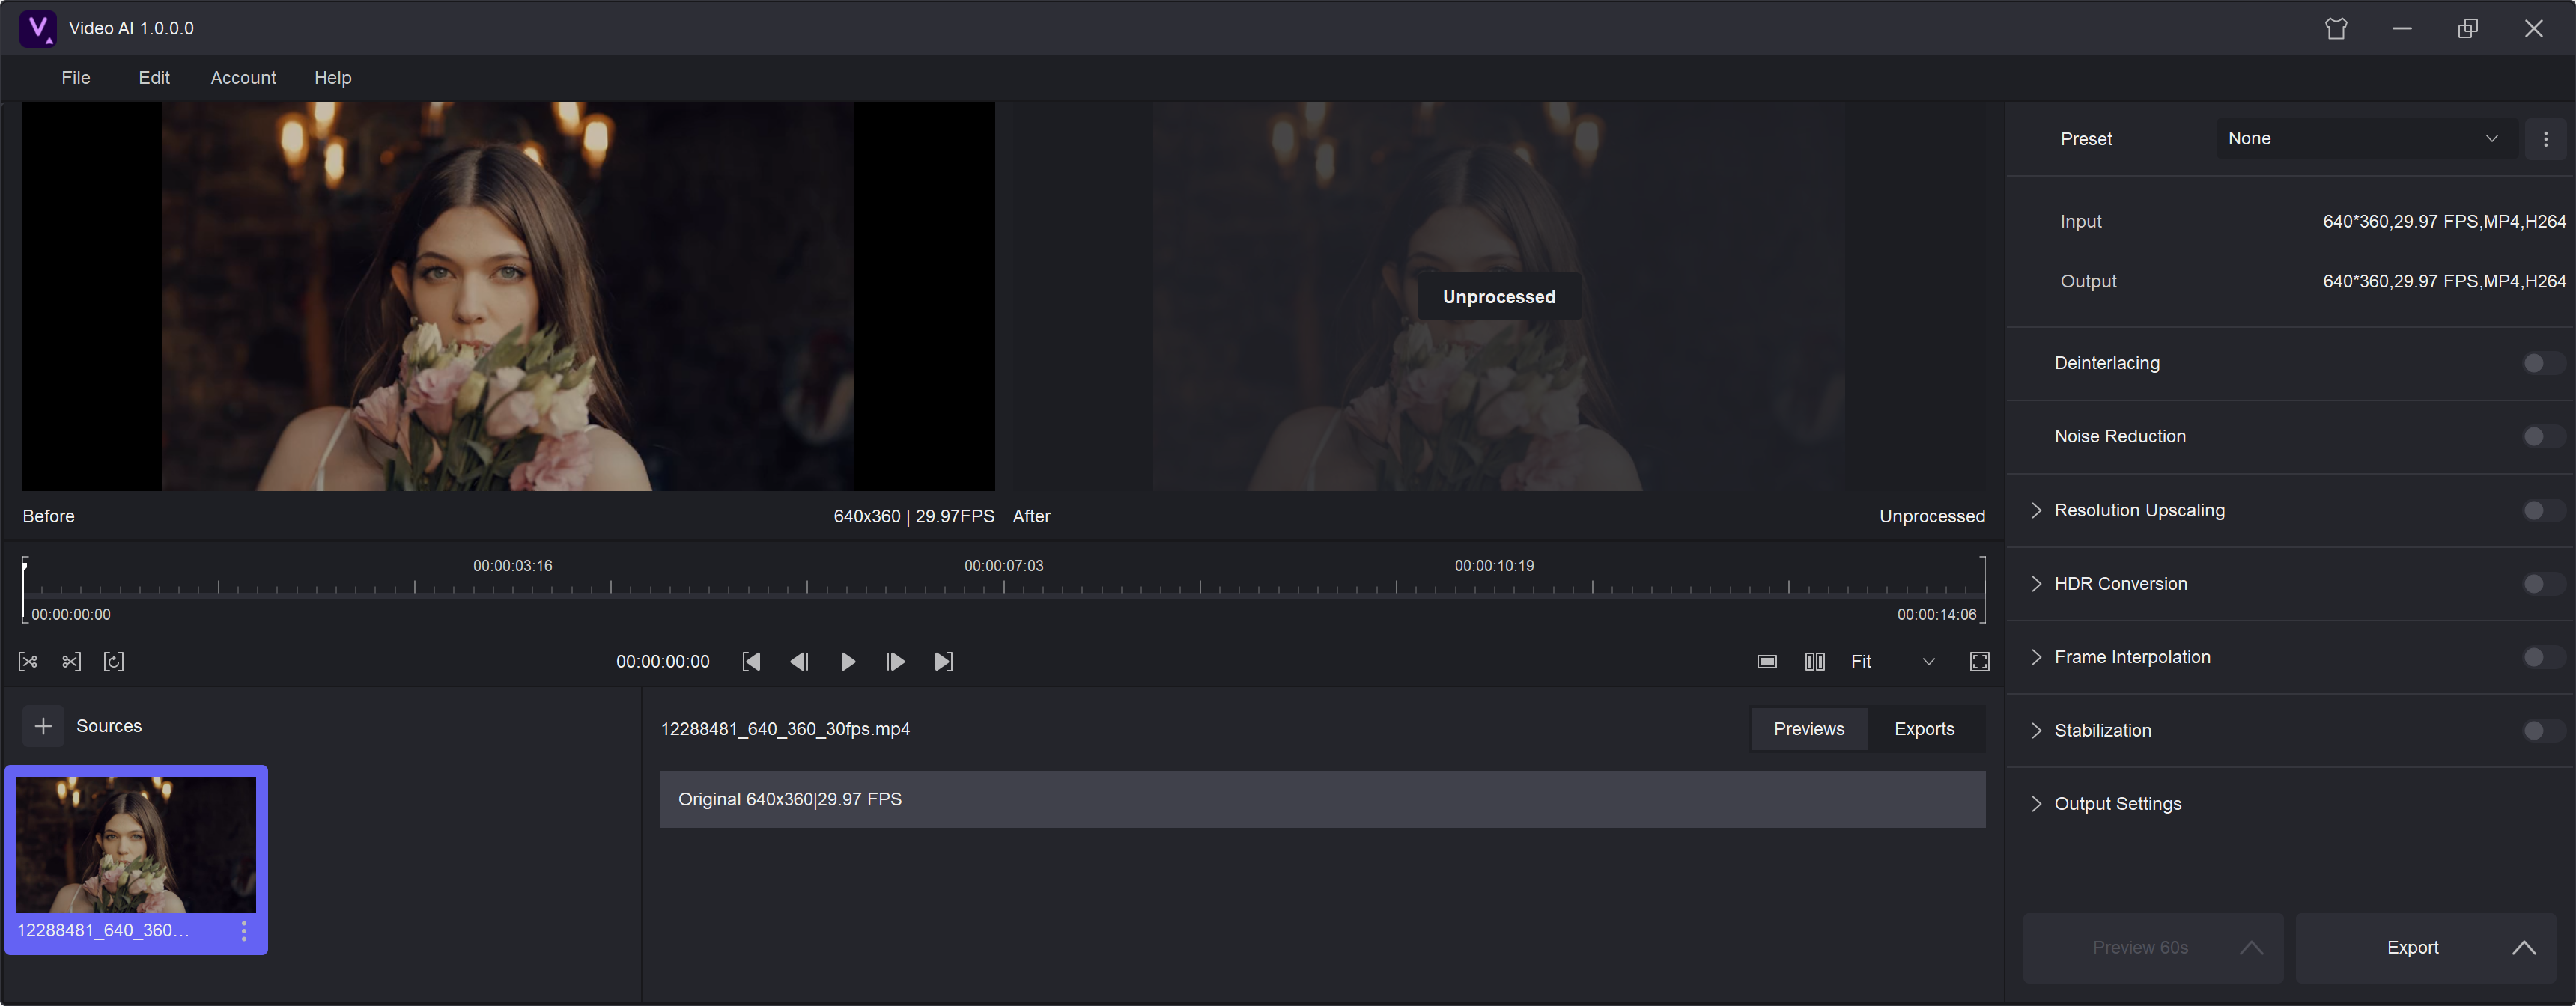
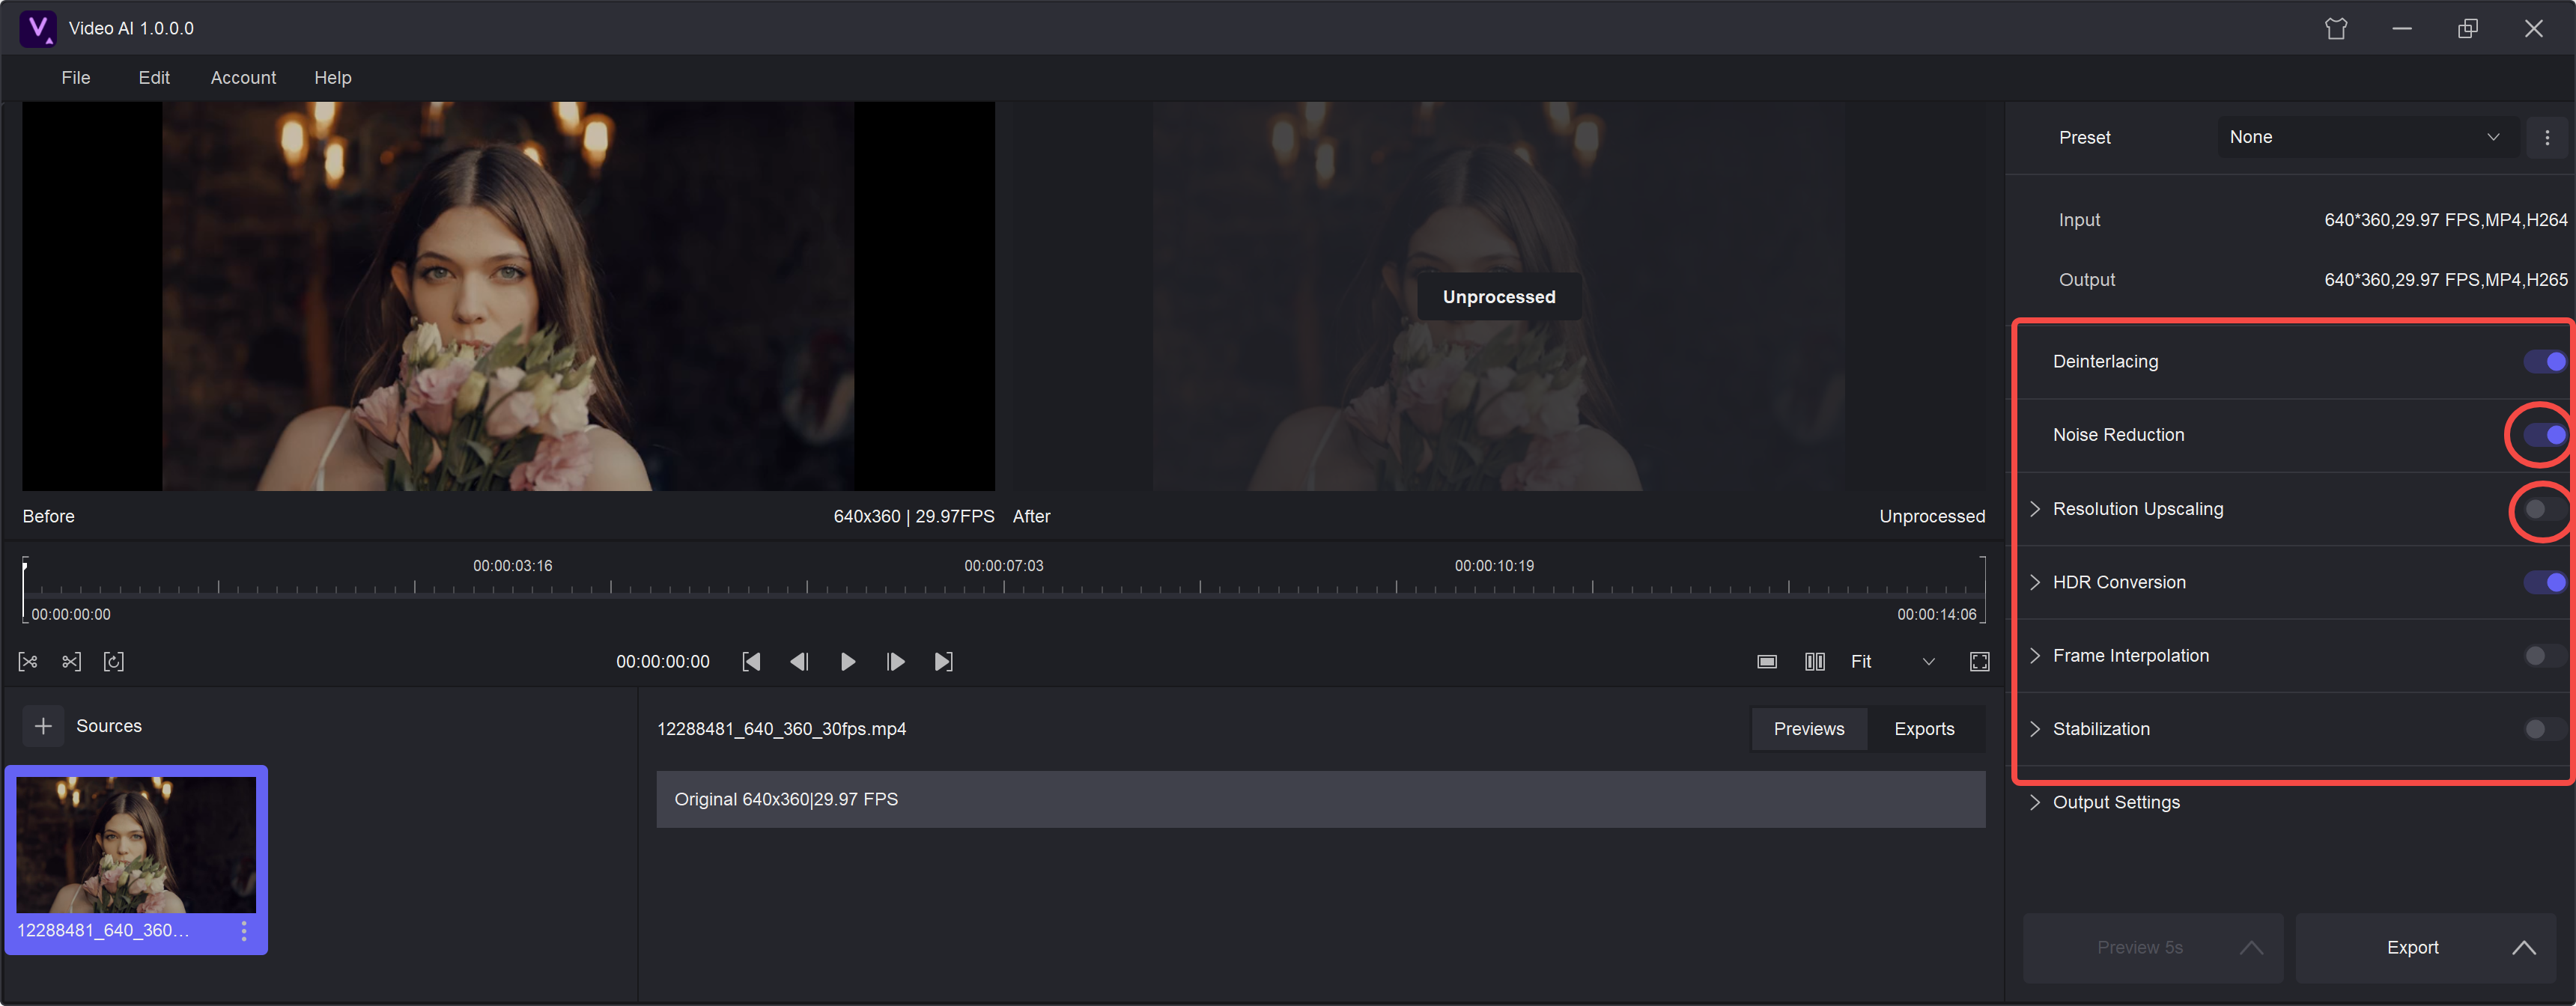
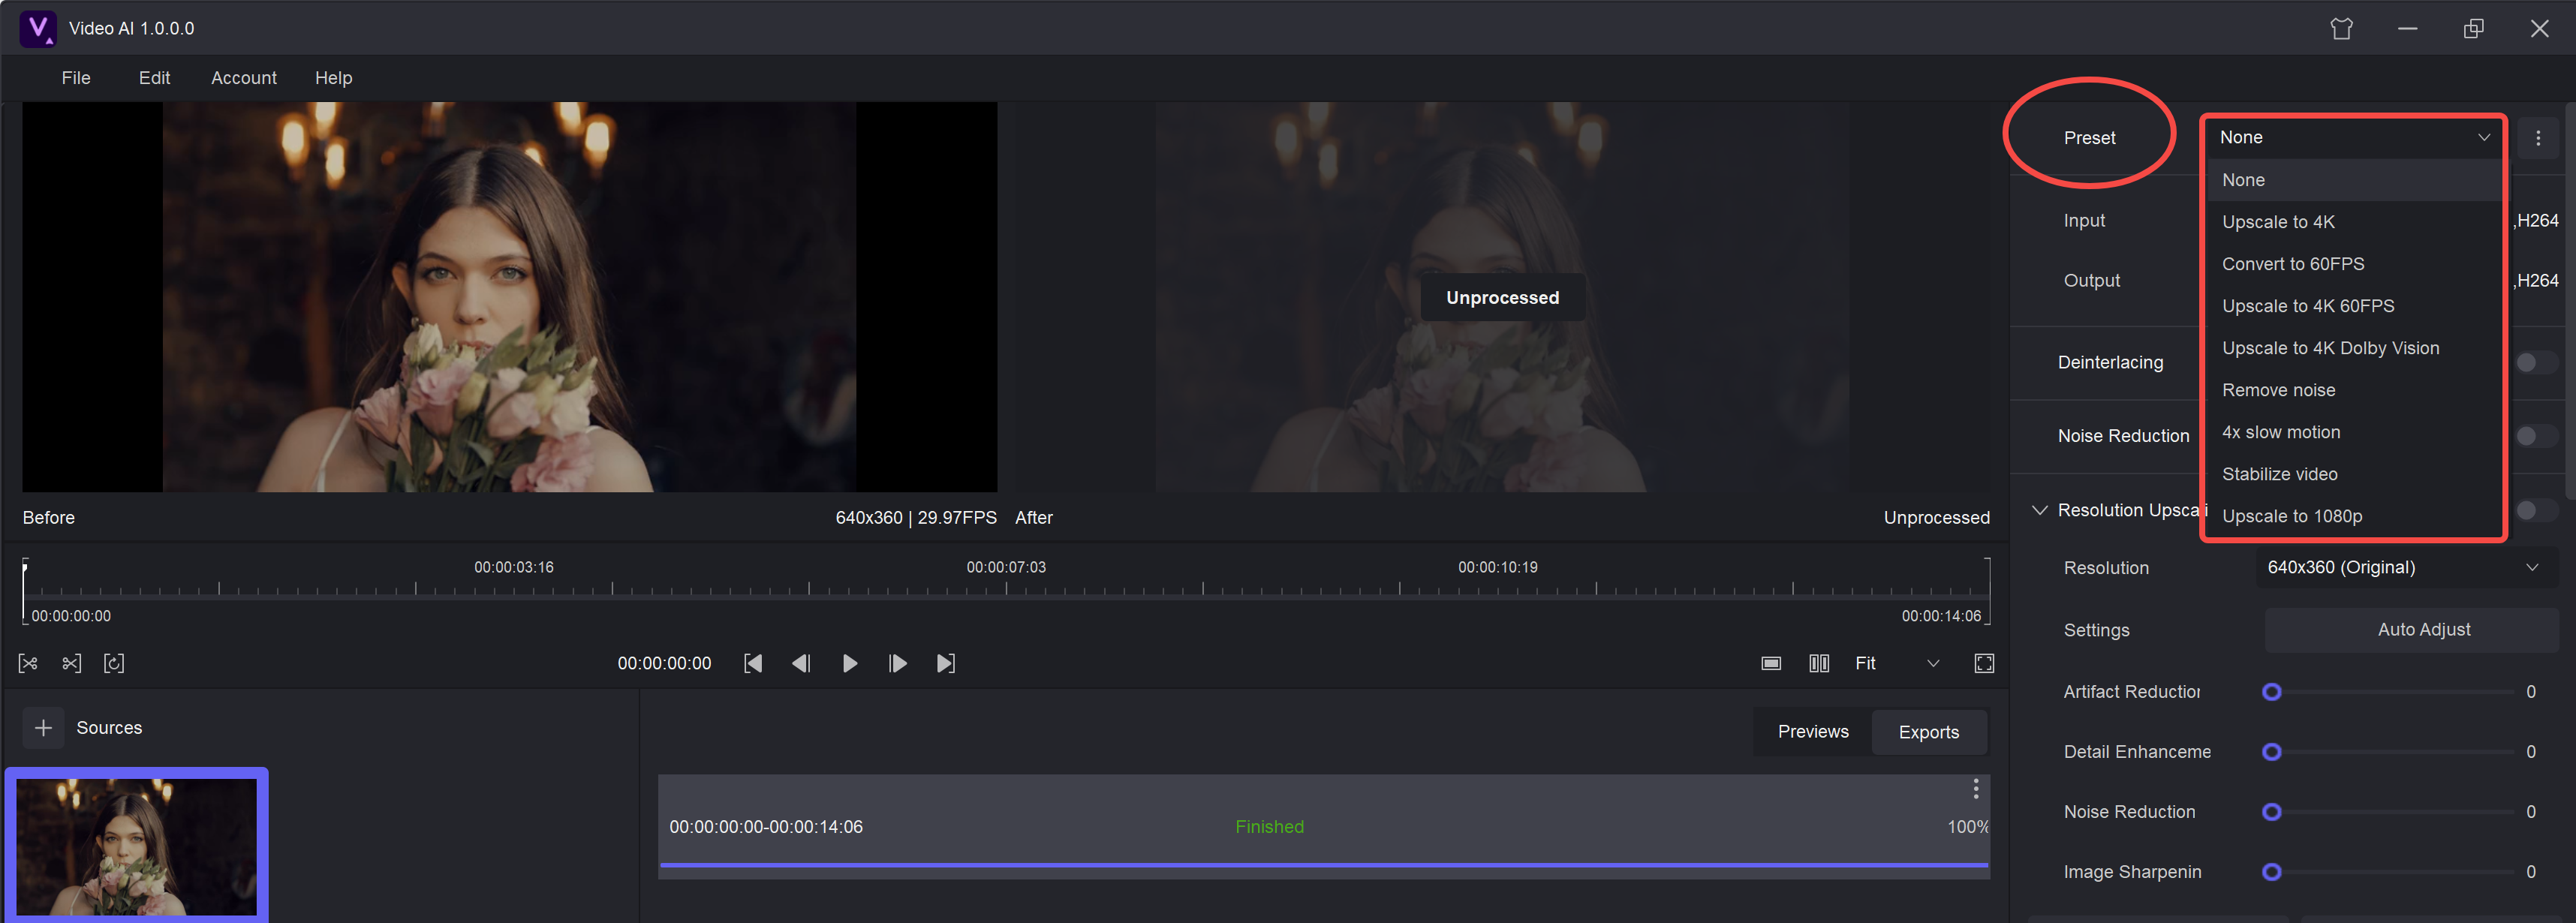
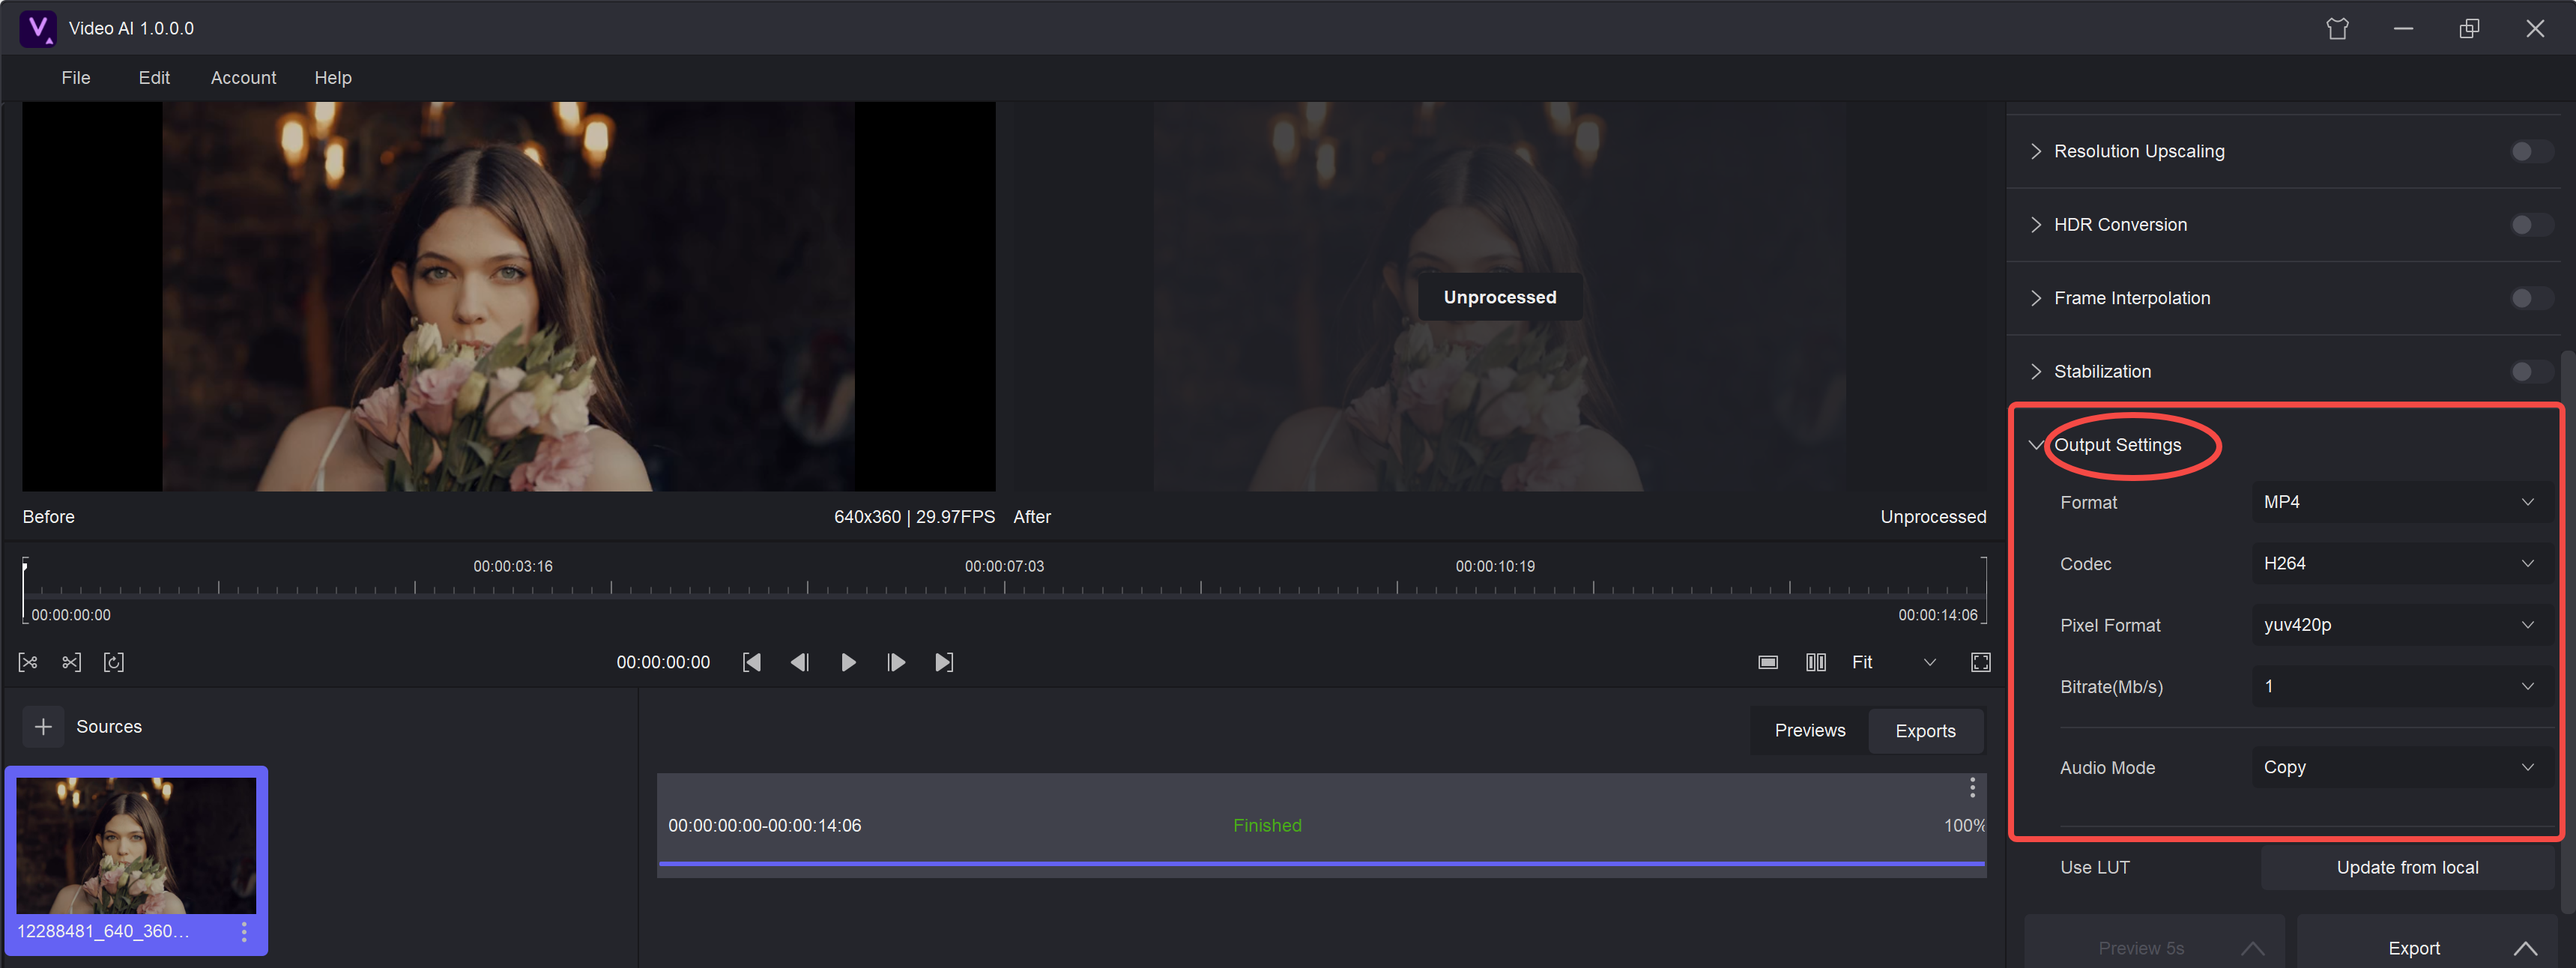
On the right, the tabs can be divided into 3 categories according to their functions: Preset, Features, and Output Setting.
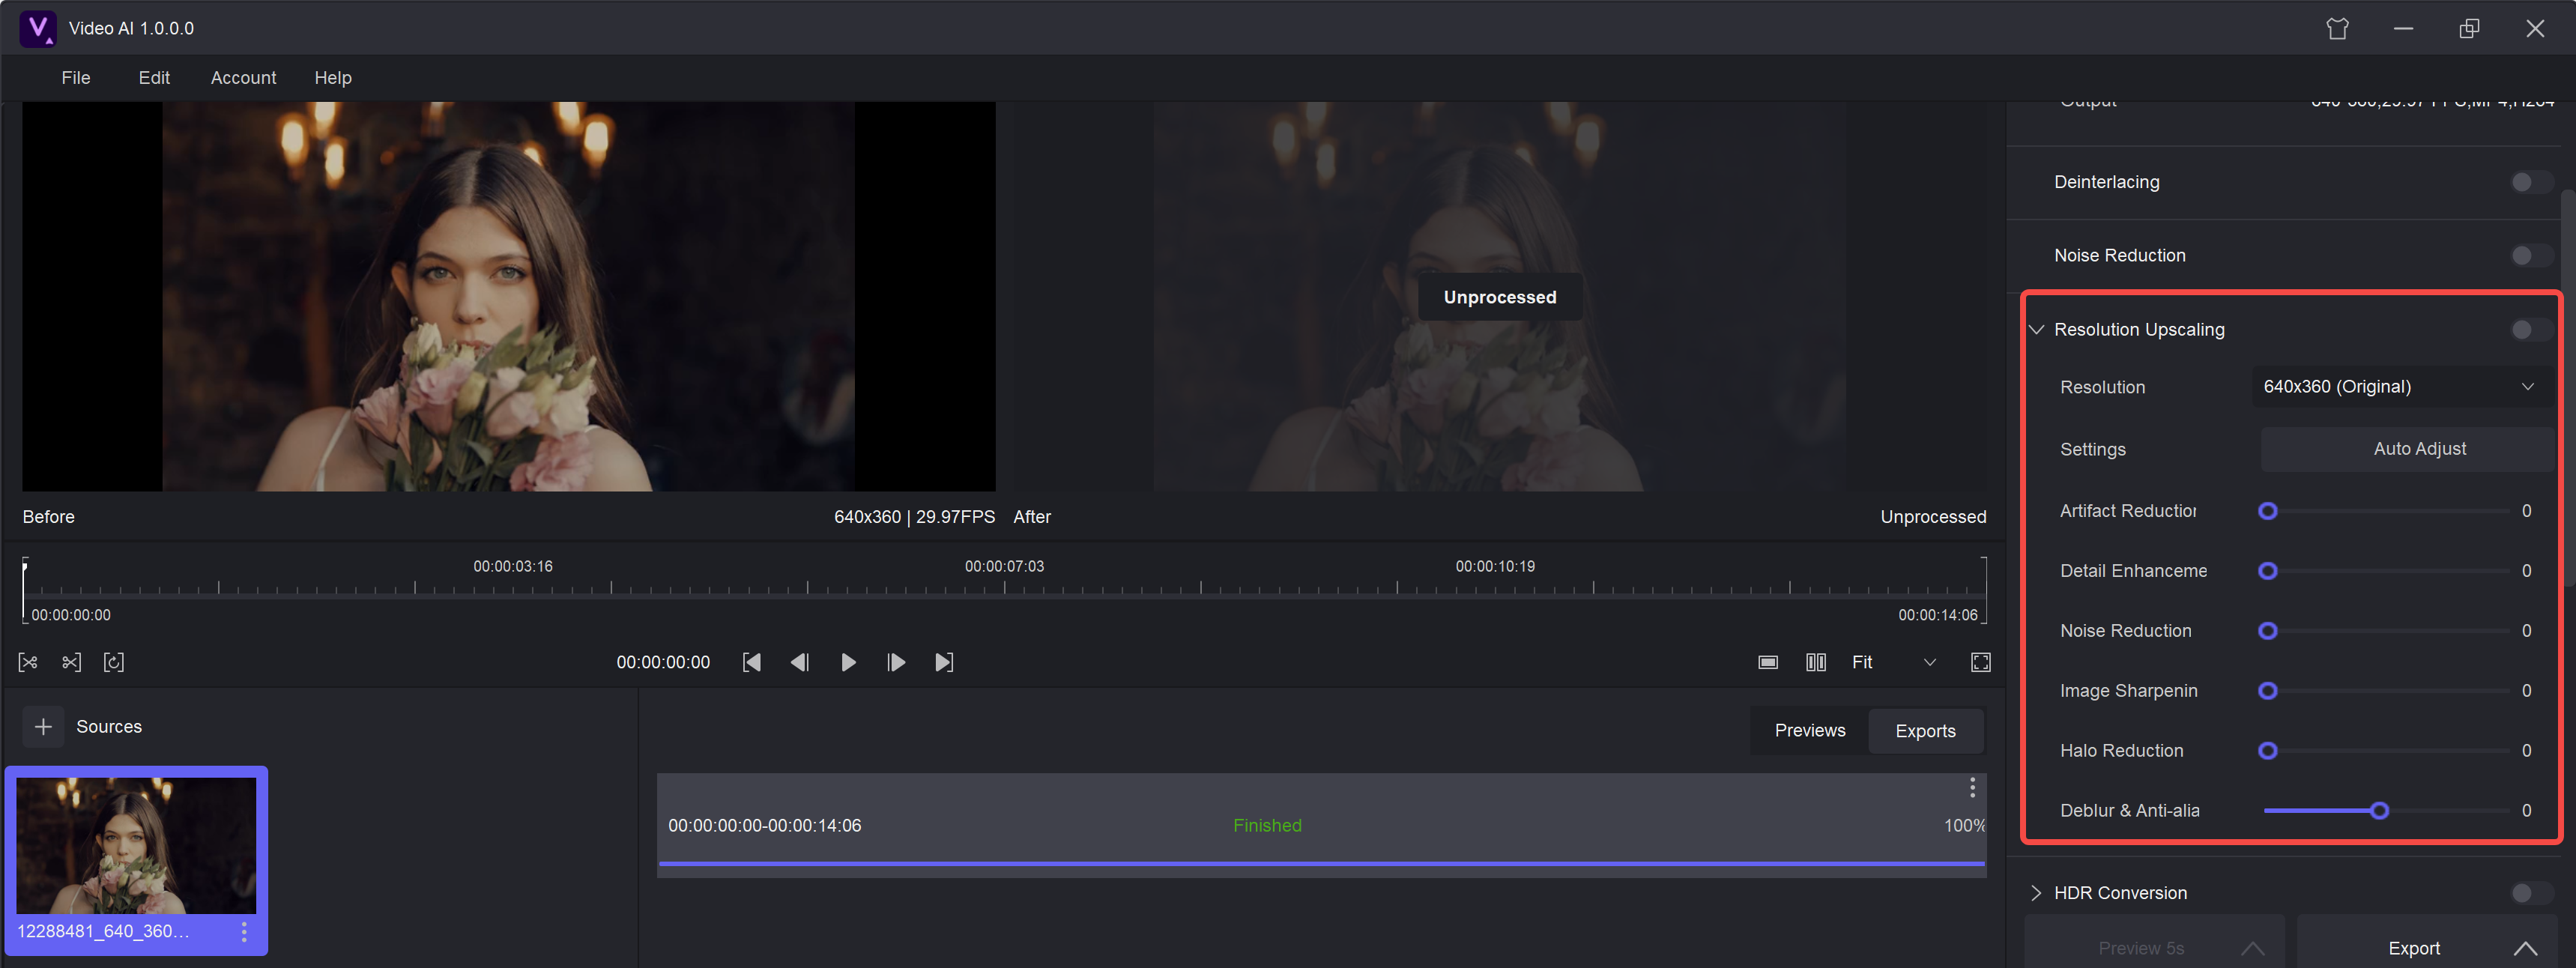
Features including Deinterlacing, Noise Reduction, Resolution Upscaling, HDR Conversion, Frame Interpolation, and Stabilization.
Select the function you want to use, adjust the corresponding parameters, and then click ‘Export’ to start processing the video.
You can enter each product introduction page to learn more about the specific features.
Preset is a preset relatively optimal parameter of the processing model. You can use it directly or adjust it manually.
Output Setting: You can adjust the video settings you want to output.
¶ 2.2.3 How to Use?
Video AI is the easiest AI video enhancer. You only need a few clicks:
Step 1: Select the product you want to use.
Step 2: Upload the video.
Step 3: Simply adjust some parameters.
Step 4: Click ‘Export’.
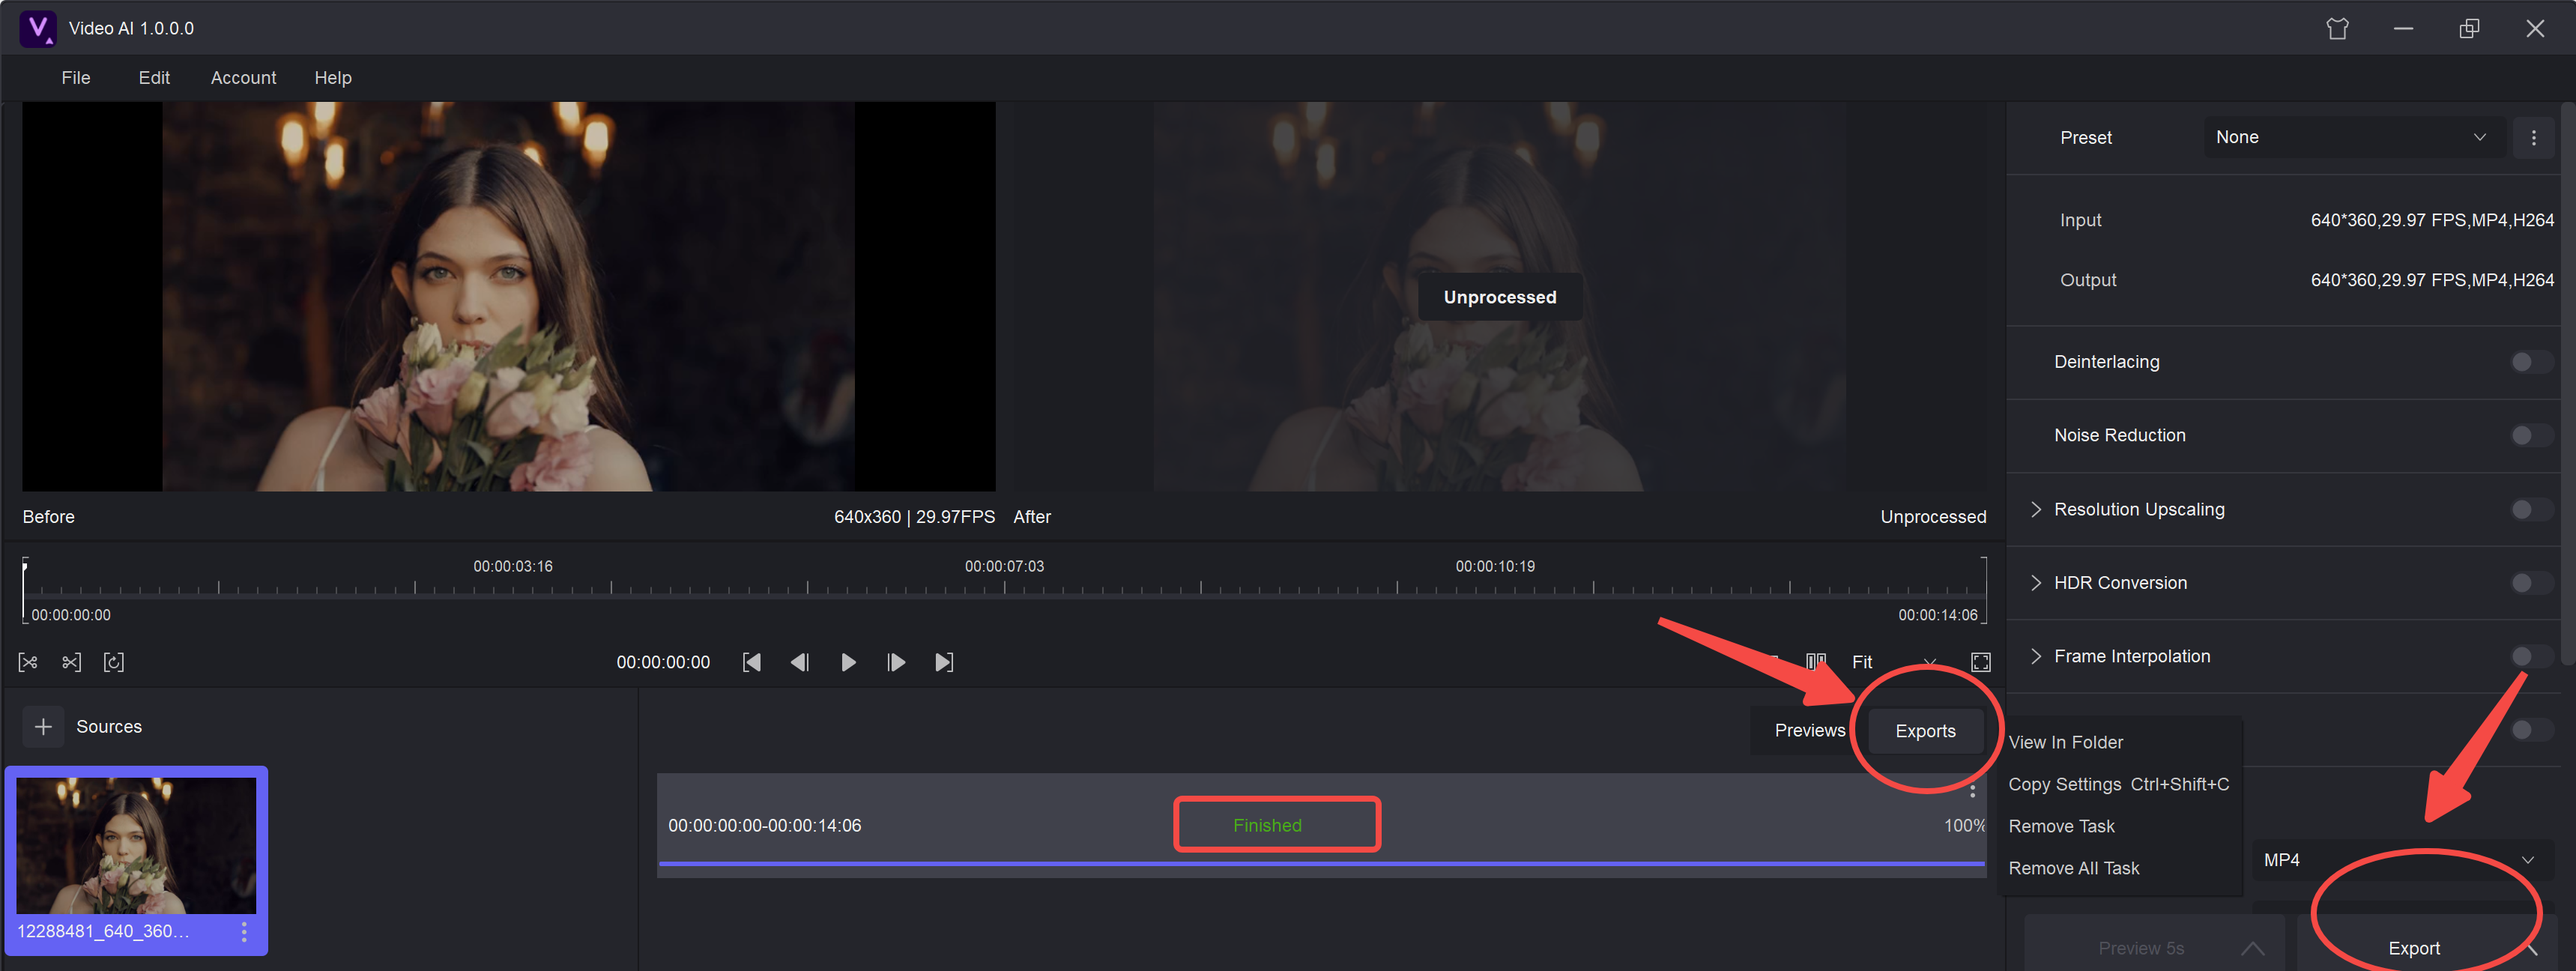
Step 5: Download the final result.
¶ 2.2.4 Software Updates
1. How to update the software?
Every time there is a product update in the Video AI client, a pop-up window will notify you. You only need to click and wait to upgrade to the latest version of the software.
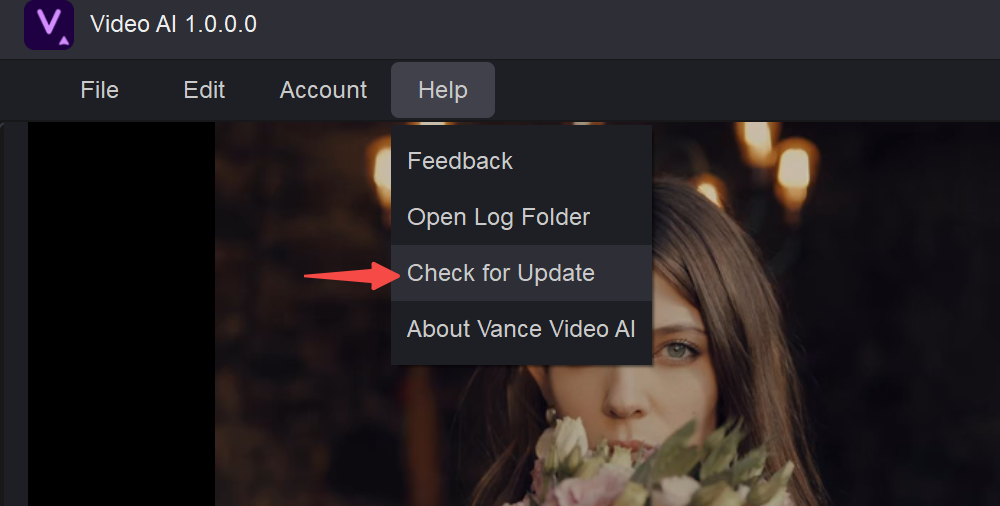
2. Check the latest version
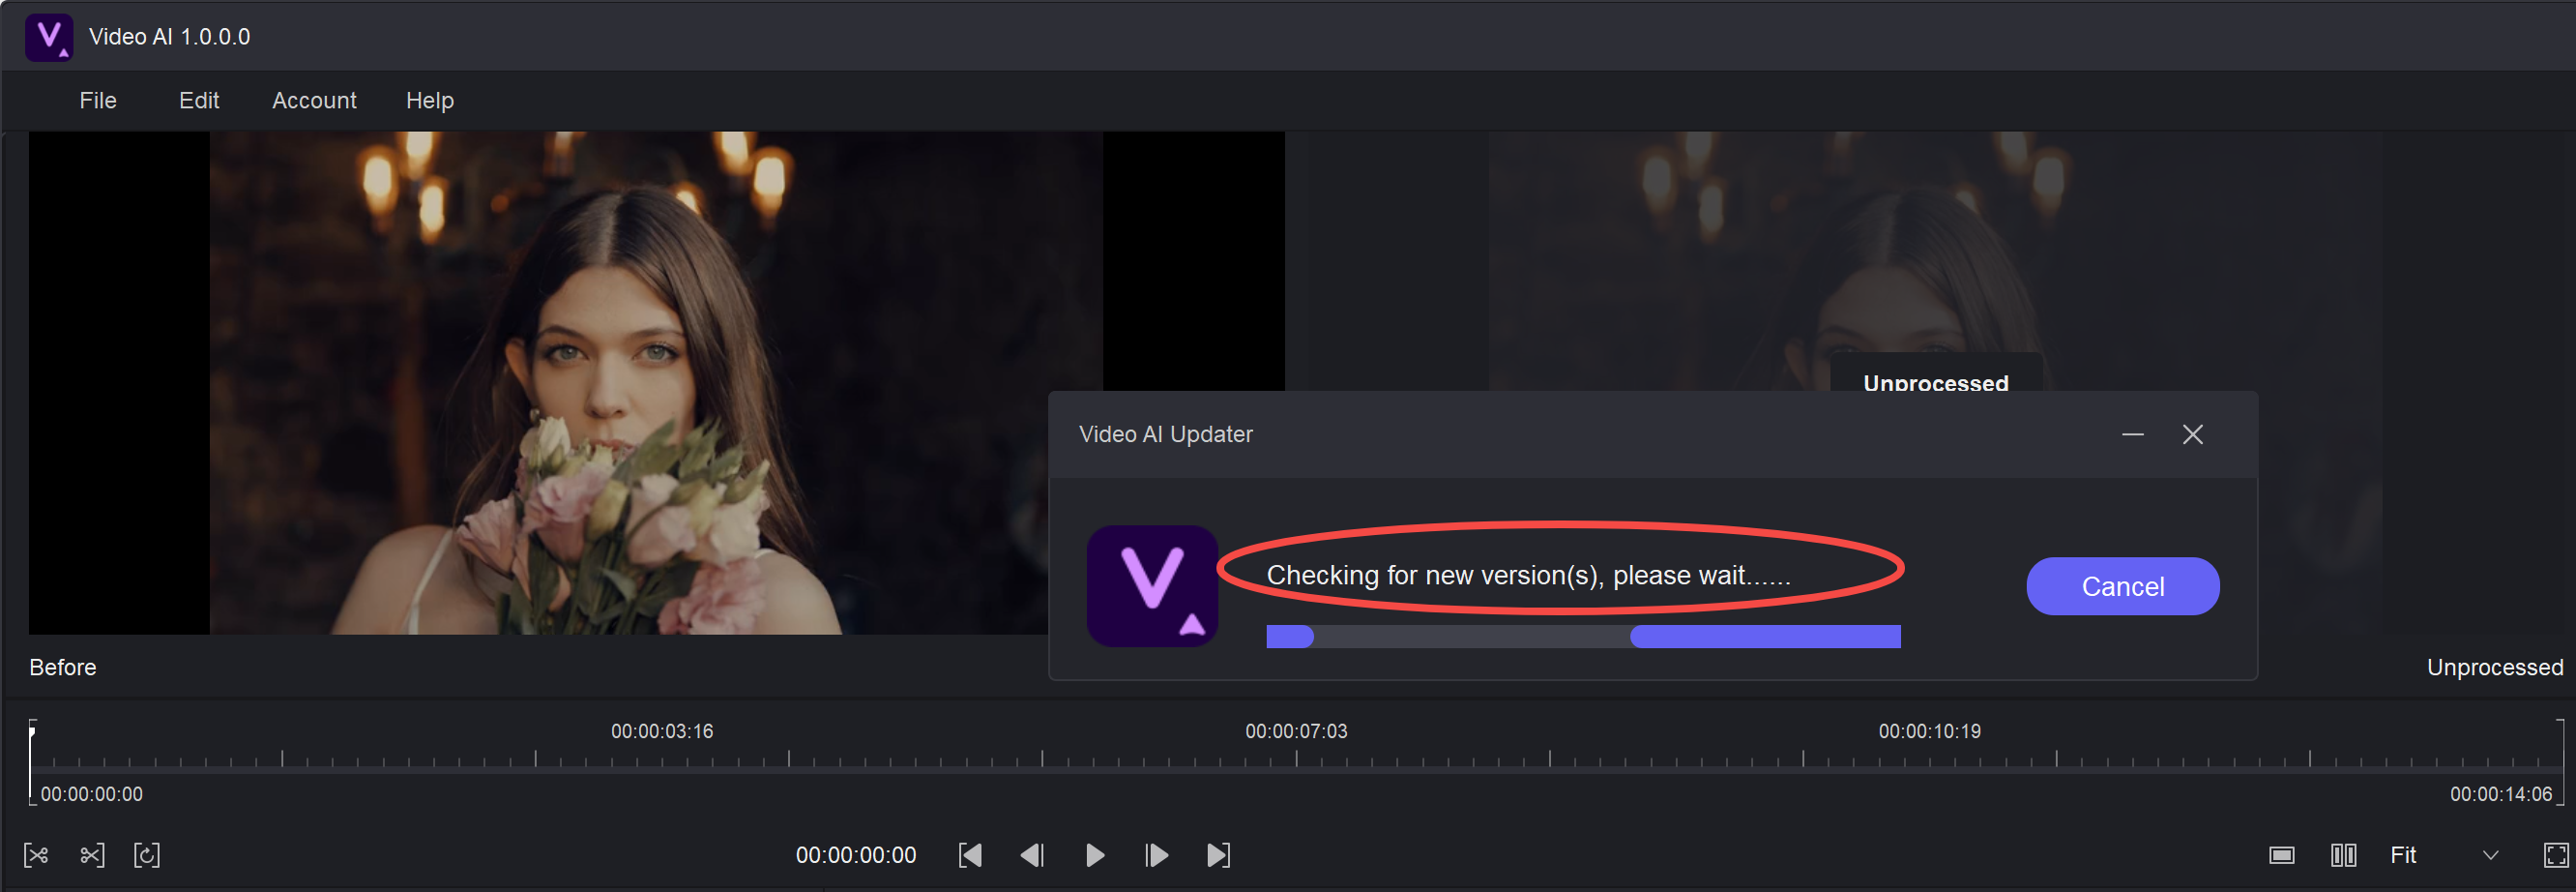
You can see your software version in the upper left corner. Or click “Check the update” to check the latest version.
There will be a pop-up to tell you the result.
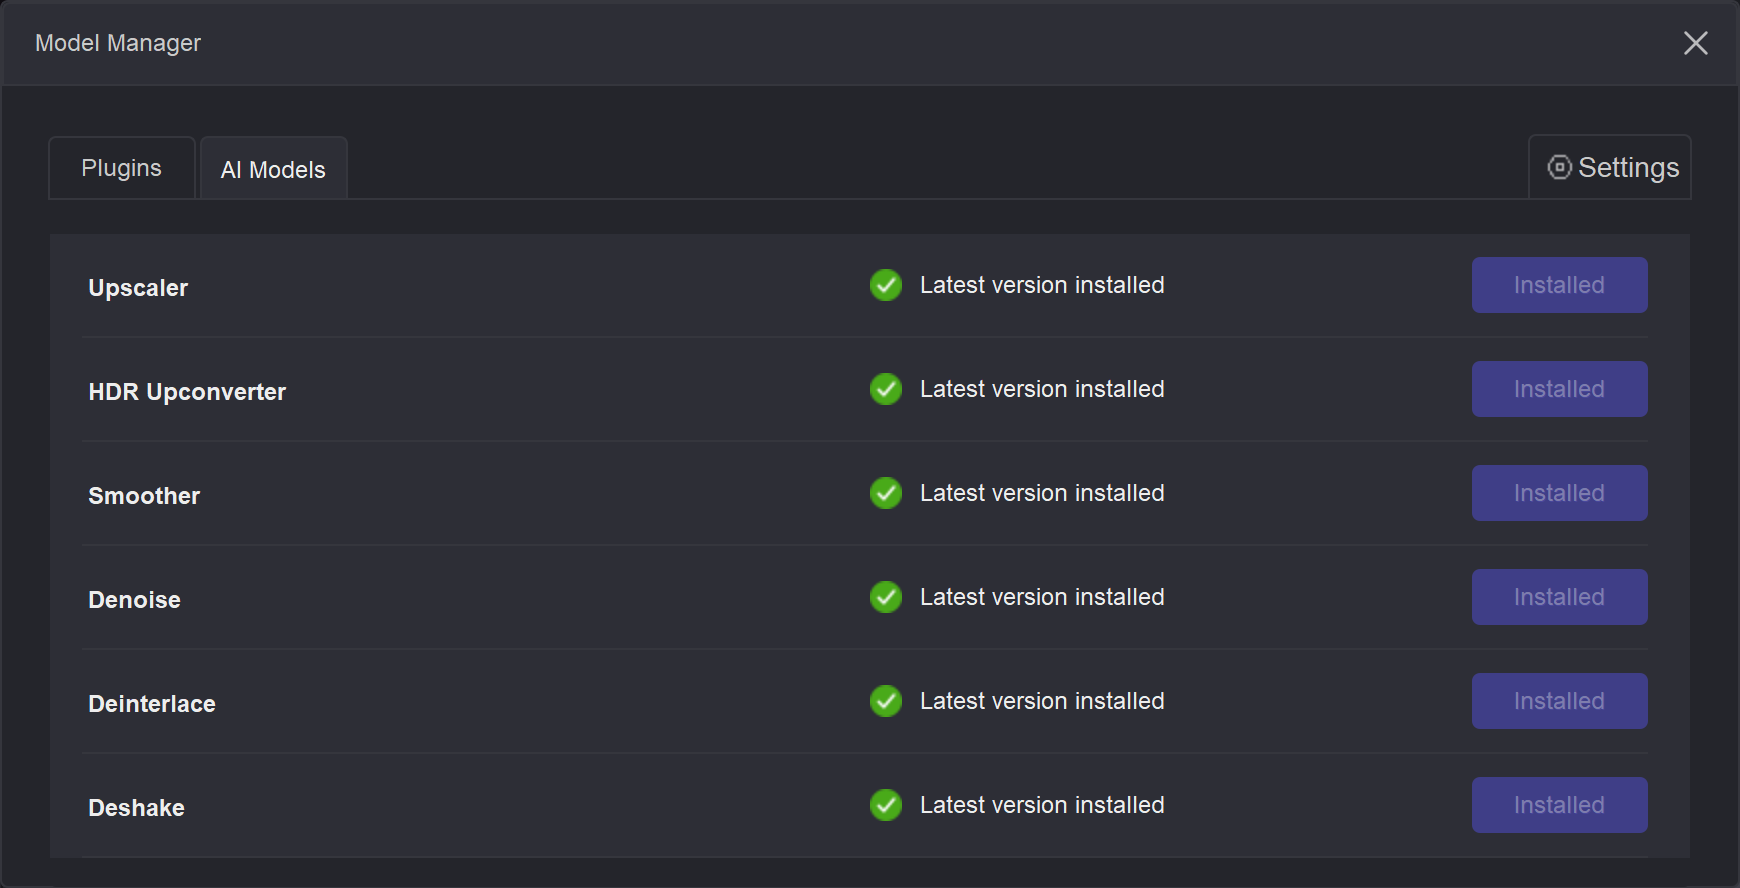
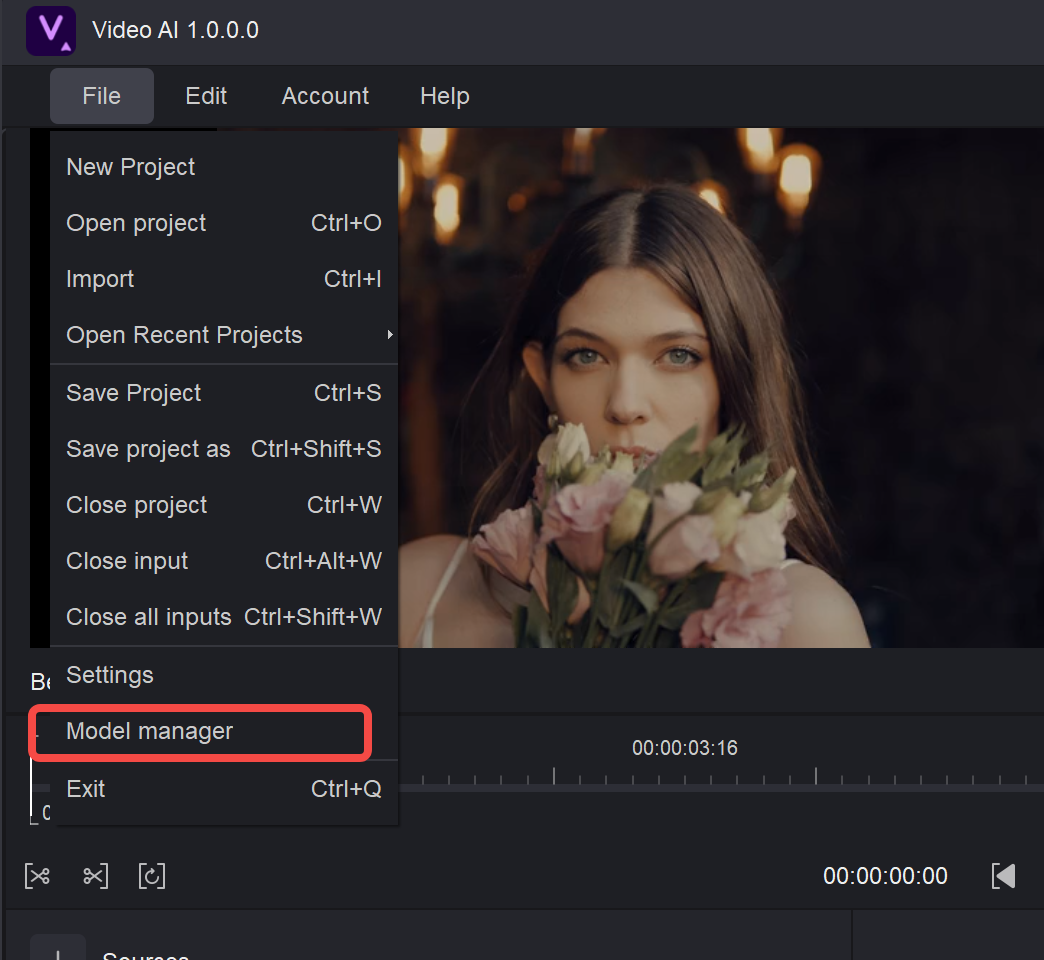
¶ 2.2.5 Model Management
Click “Model Manager”, you can see the plugins and models installed on your computer.
Download New Model
In the “Model Manager”, you can download new models according to your needs, and you will also see new model updates in it.